


How to make sourdough bread at home
Since we are locked away in our homes, many people turn to the kitchen to pick up a new hobby, experiment with new recipes, or honestly just to kill time.
And what would be more lazy-women-like, than making the “most regenerative, distributive, commons-based and feminist food” according to Kate Raworth, which is the sourdough bread! Regenerative, because the starter keeps regenerating as you feed it, providing more food every day. Distributive, because anyone can make a starter, and it can be shared with others easily. Commons-based, because you have to make it yourself, it’s not available in stores. And finally feminist, because it’s quick and easy to make (however, this specific recipe will require you to check on your dough quite often, but by no means is it labour-intensive). 
Making bread at home is really satisfying, not only because it tastes much better than store-bought ones, but it also feels like a huge accomplishment.
STEP 1: MAKING THE SOURDOUGH STARTER
The great thing about making a sourdough starter is that it only requires a few ingredients, but you can use it to make bread, pizza or a bunch of other things. Here is how I made my sourdough starter (I used this BBC recipe with minor modifications):
Day 1:
Microwave 175 ml milk, and mix it with 5 tablespoons of greek yoghurt. Put it in a sealed jar and leave it in a warm place for 24 hours. Make sure you choose a large jar, as its volume will increase quite a lot!
Day 2:
Mix 120g flour with the yoghurt mixture, and leave it in a warm place for 48 hours. (I accidentally left mine for 72 hours, it still turned out fine, so don’t worry if you can’t stick to these exact time frames.)
Day 3:
No need to do anything sourdough-related today!
Day 4:
Add 180g flour, 100ml water and 3 tablespoons of milk. Mix and leave for 24 hours.
Day 5:
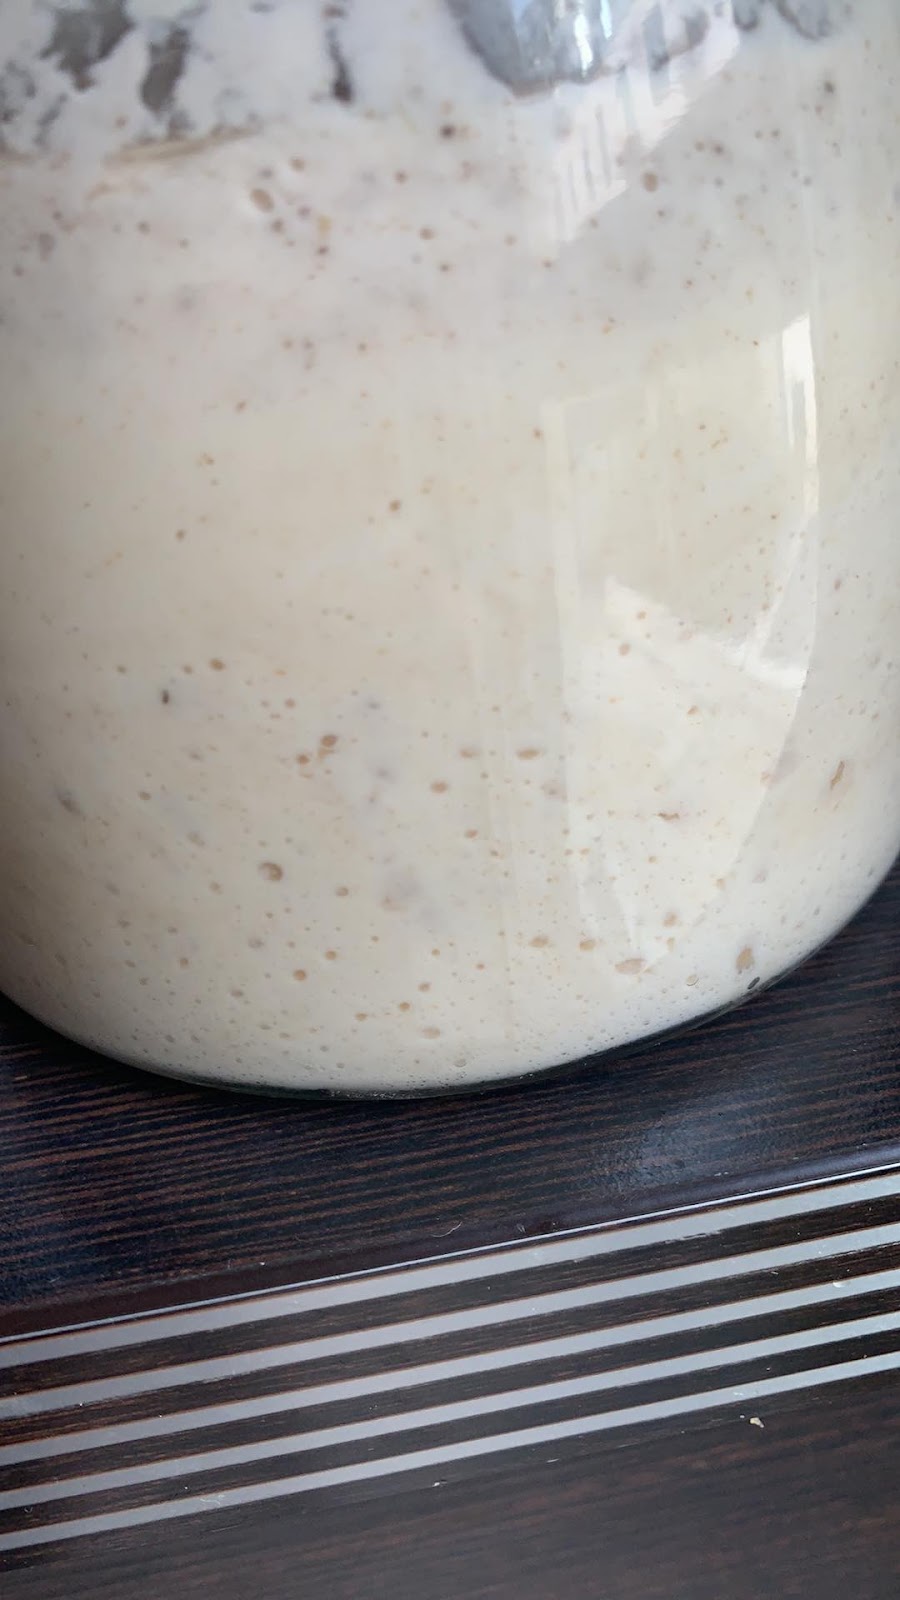
By this time, your starter has probably expanded quite a bit. You can discard half of the starter before adding 150g of flour and 150ml of water. Leave for 24 hours.
Day 6:
Your starter is ready to use. Store it in the fridge and feed it with equal amounts of flour and water every 5 days. Make sure that your jar doesn’t get too full (my starter exploded when it grew too big, don’t make my mistake!)

STEP 2: MAKING THE BREAD (I used this recipe)
Make a levain by mixing 35g flour with 17g of your starter and 35g water. Let it sit in a warm place for 5 hours. (The levain basically gives a head start to your dough, as it allows the starter to start fermenting before mixing it with the bread flour.)
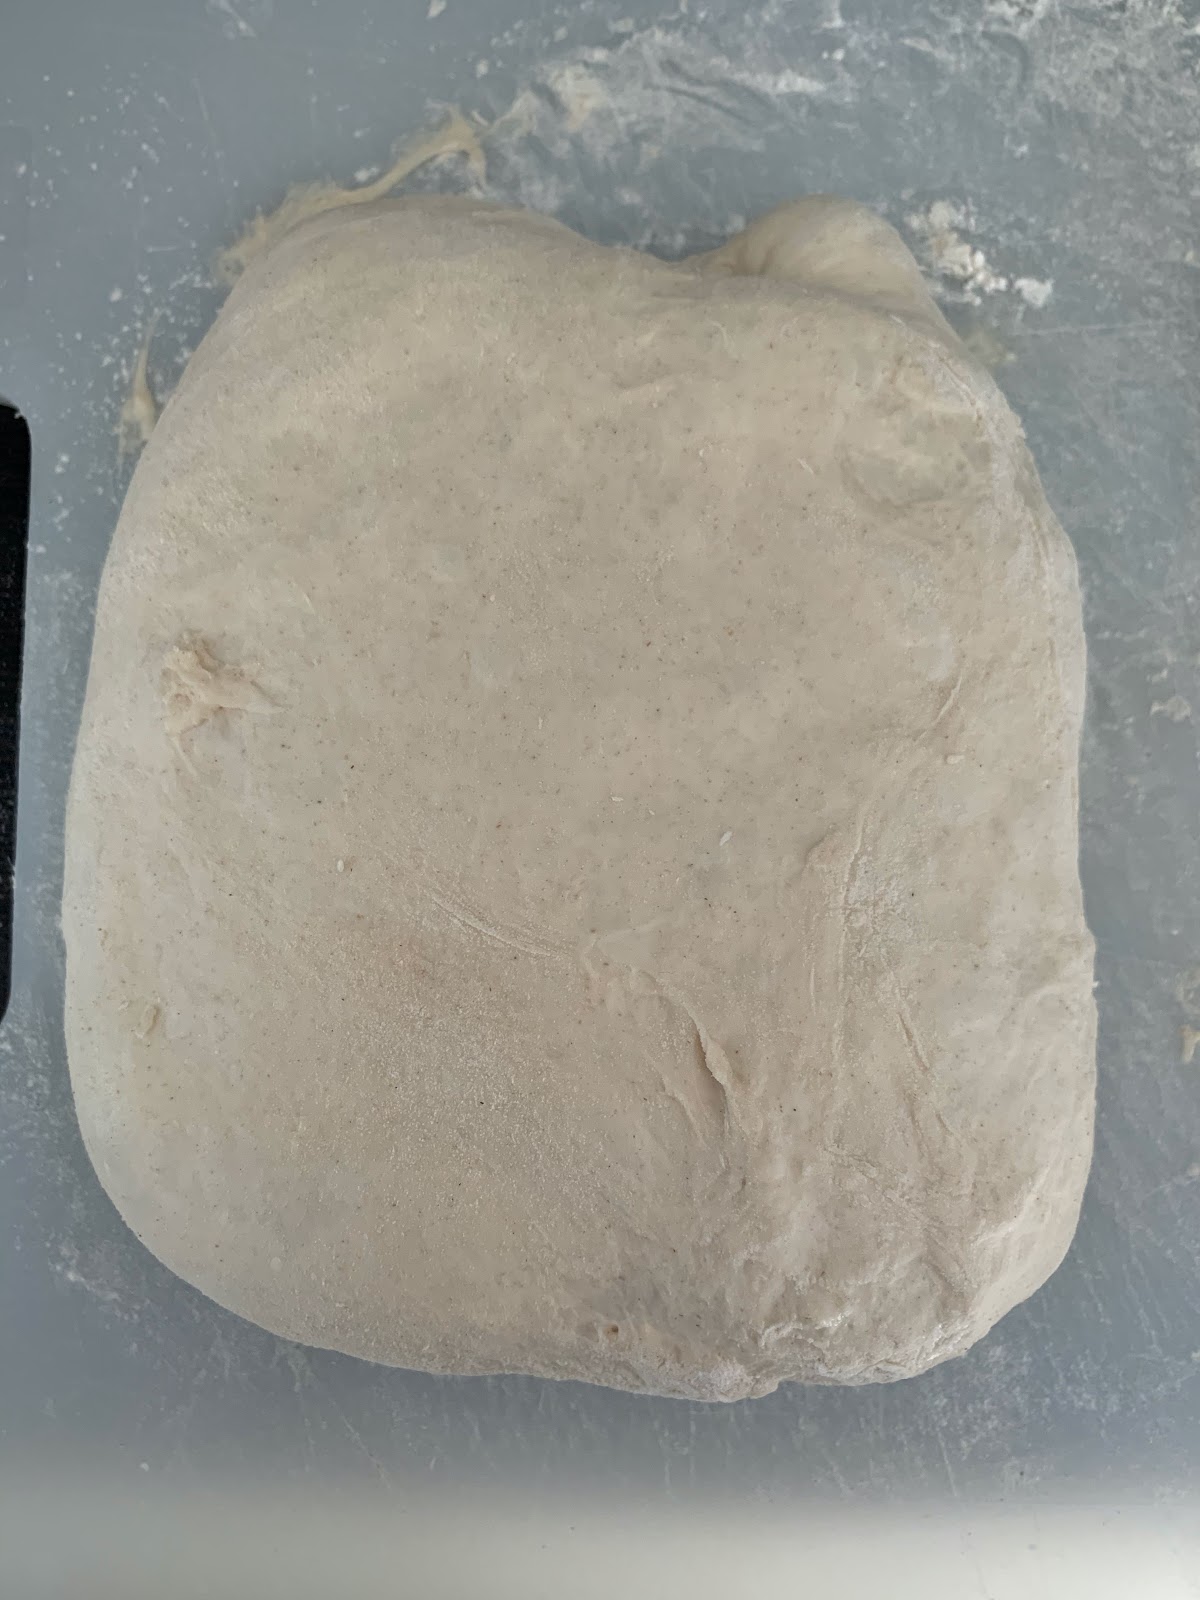
4 hours later, mix 450g flour (I used a mix of all-purpose and bread flour) and 240g warm water until you have a shaggy dough. Leave it for 1 hour, covered, in a warm place.
1 hour later, mix the levain and the dough, adding a little as needed. Rest for 20 min, then add 9g salt and the remaining 100g water, and mix until incorporated. Then you will have to “slap and fold” the dough a couple times until it becomes smooth (you can see how to do this here). Rest for 15 minutes, covered, in a warm place.
Now you will have to stretch and fold the dough. With a wet hand, you’ll have to slide your hand under a quarter of the dough in the bowl at the side and fold it on top of the rest.
Repeat this three more times, rotating the bowl by 90 degrees before each fold. Then cover and rest in a warm place. You will have to repeat this 6 times in total, with 15min breaks for the first 3 folds, and 30min breaks for the last 3. After the final fold, let the dough rest in a warm place for 1.5h.

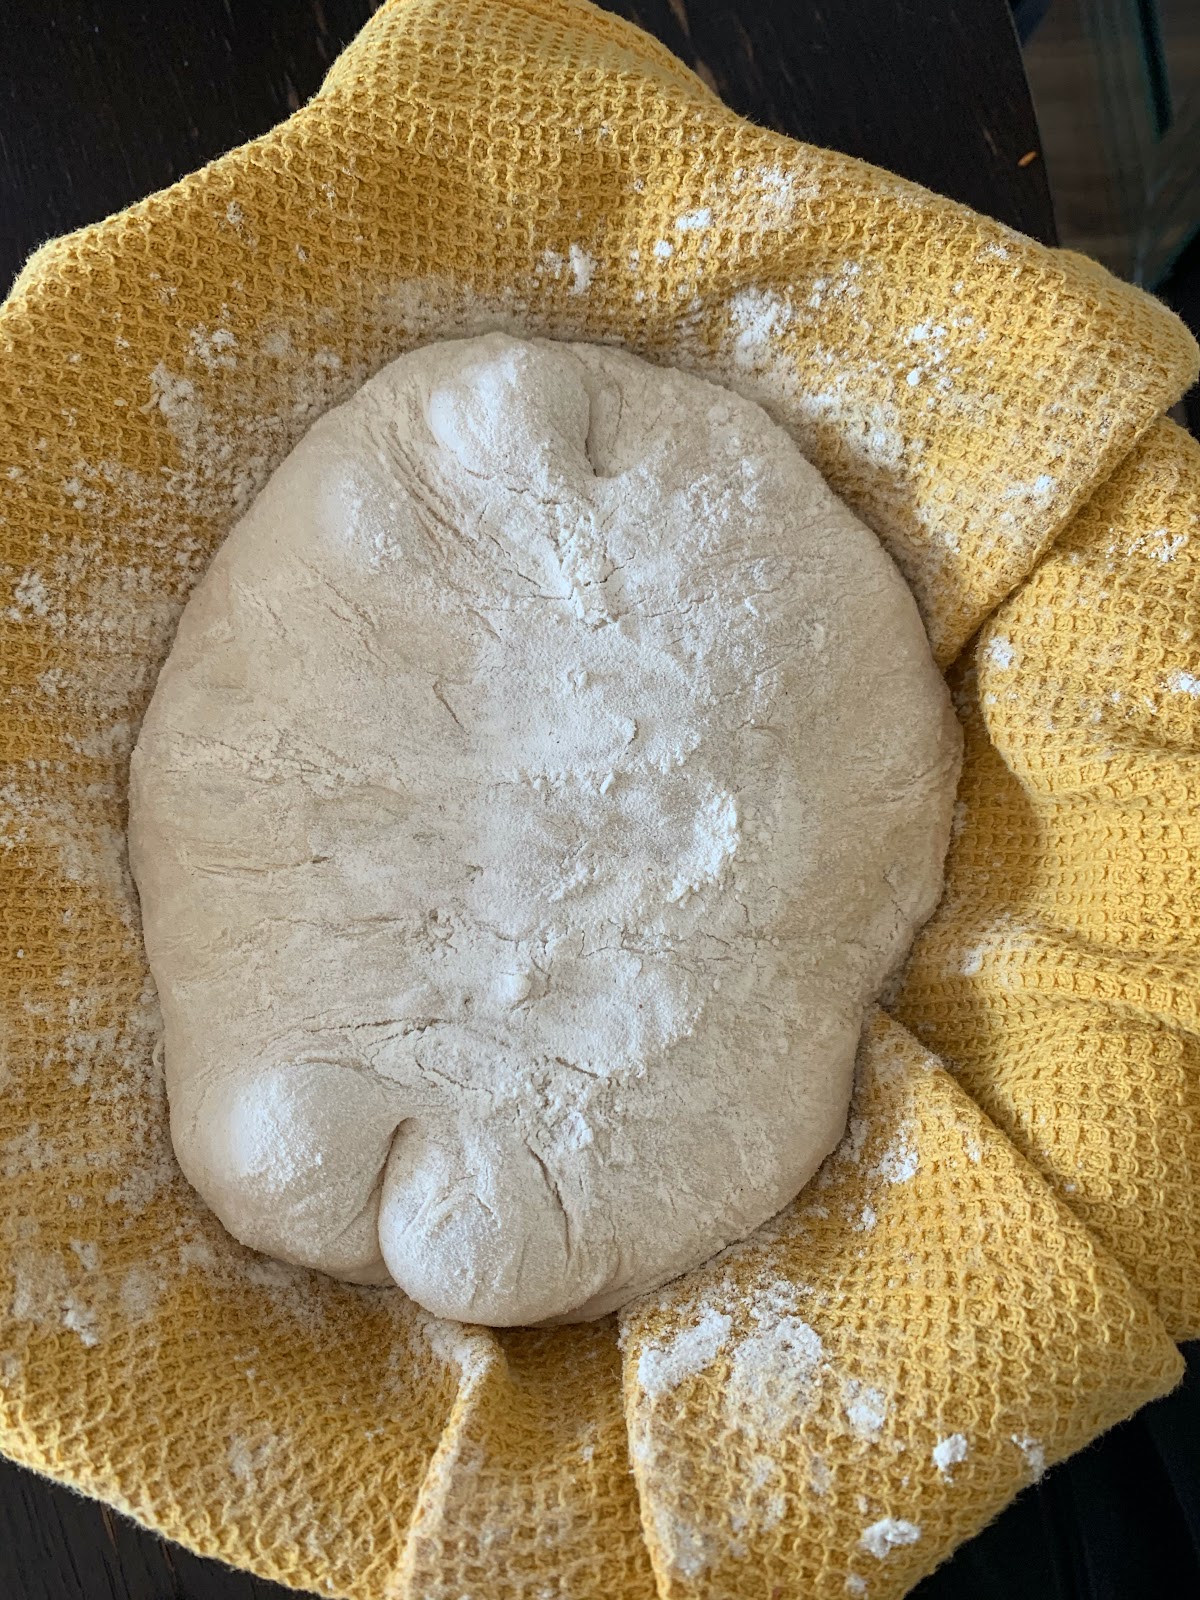
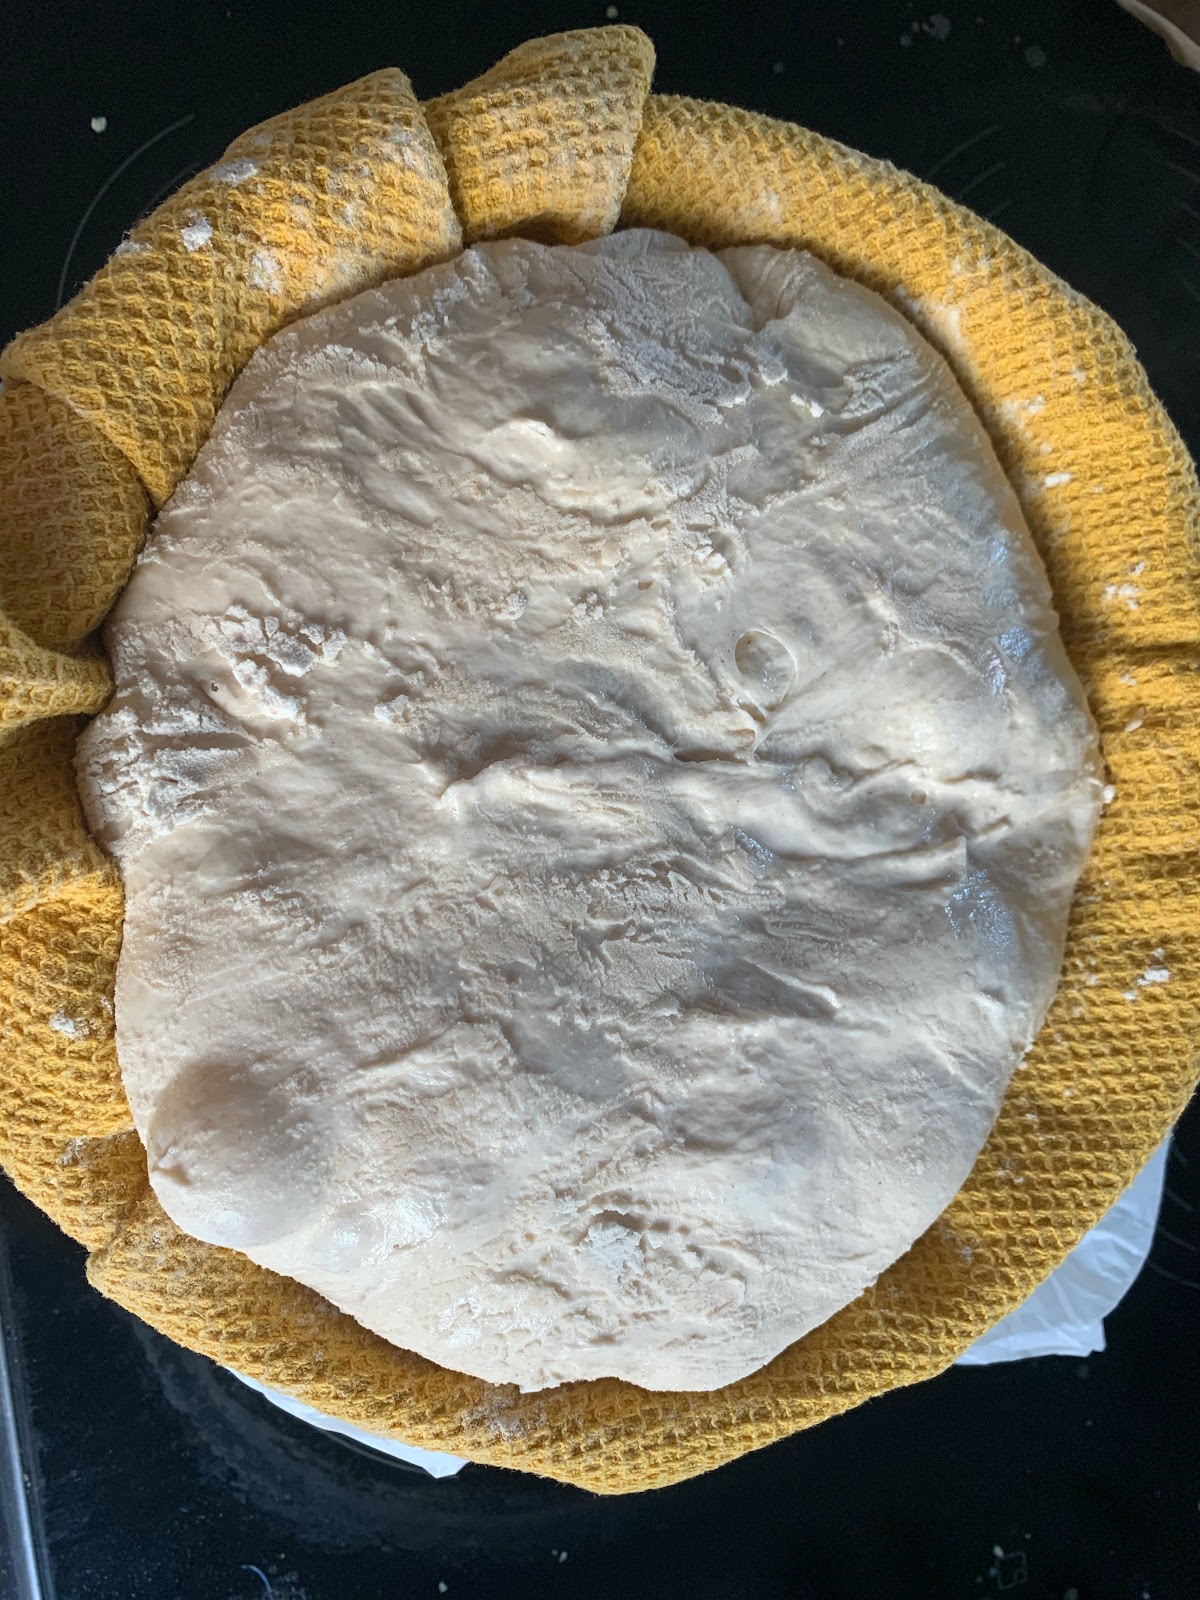
Put your dough on a floured surface, and shape it into a round ball and let it rest for 10min. Shape it into a banneton. (see how to do all these shapes here) Meanwhile, prepare a bowl and cover it fully with a piece of cloth (I used a kitchen towel). Flour it generously, and place the banneton inside with the folded side up. Chill in the fridge overnight, covered.
Preheat your oven to 260C, with the pan/tray you plan to use inside (I used a dutch oven). Once your oven and baking tray is hot sprinkle it with flour and place your dough inside with the folded side down. Score the top (one 2-3cm cut in the middle will do), and bake for 20min covered, and 20-30min uncovered until it’s a deep brown. Place it on a wire rack and let it cool.
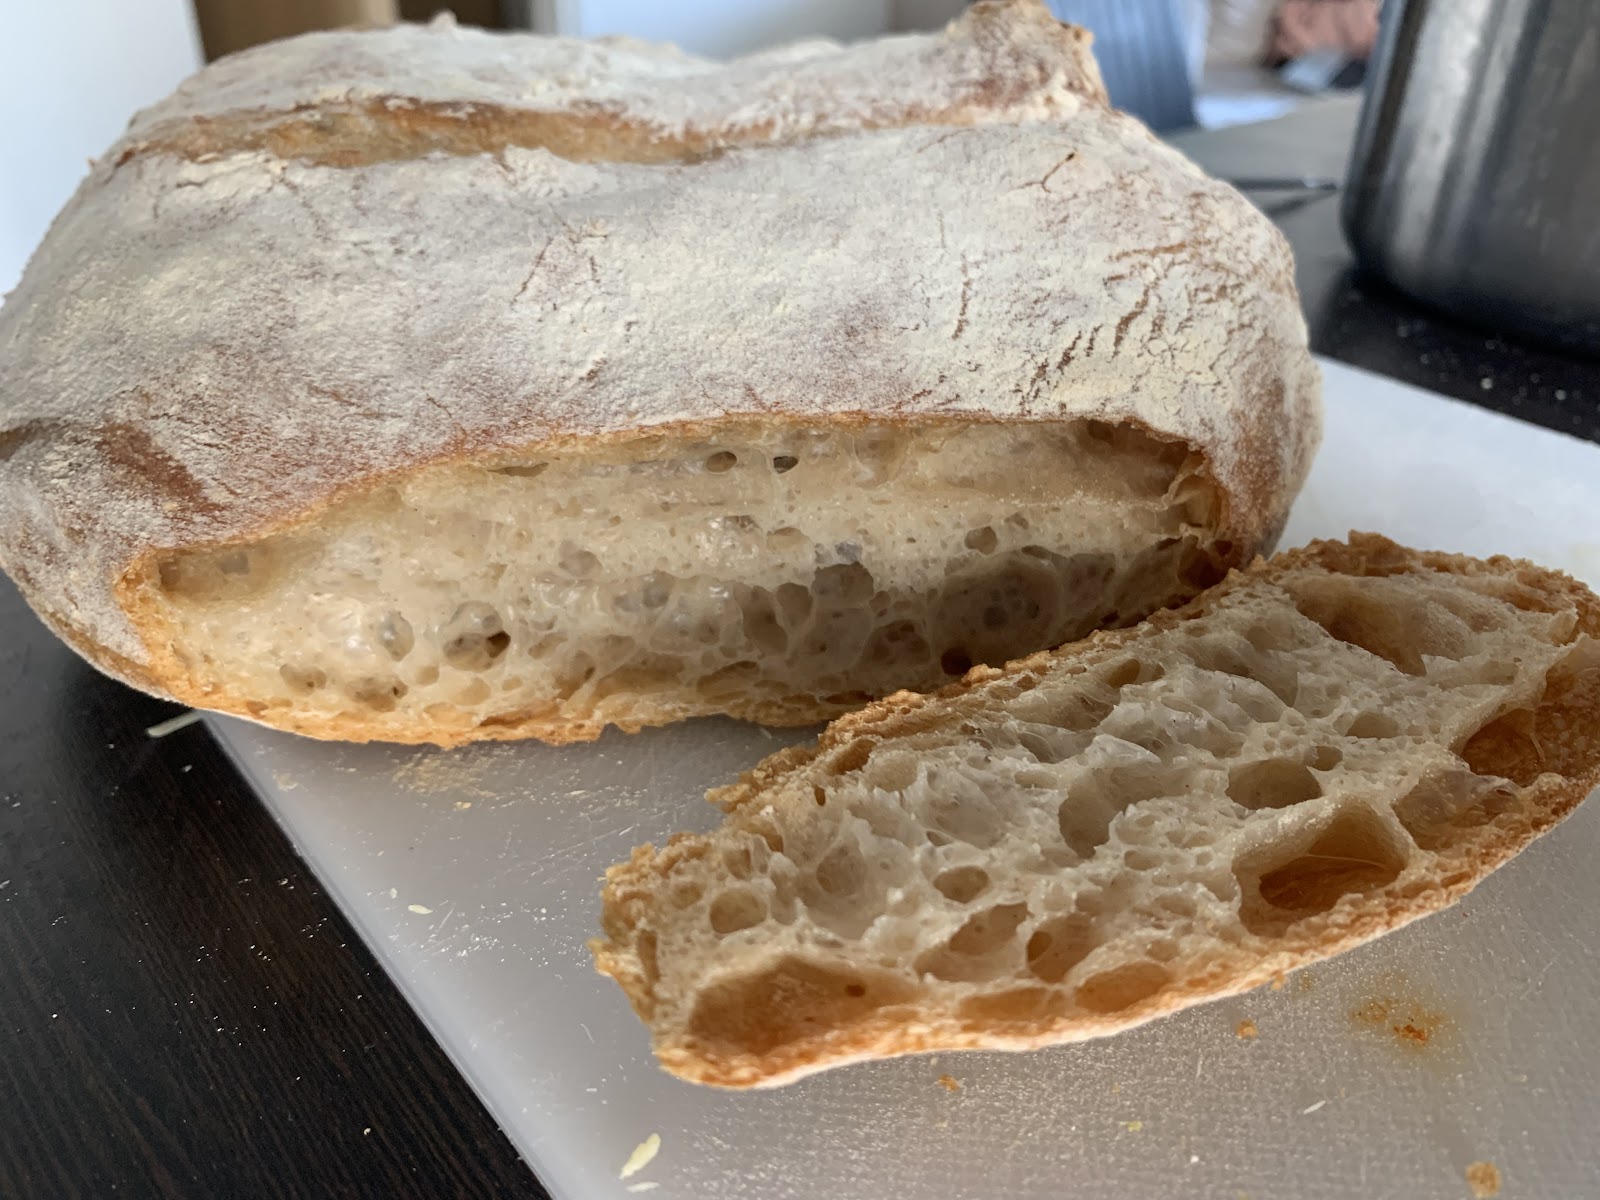

I thought my bread turned out slightly too flat, which is probably due to the lack of professional bread baking equipment and the width of my dutch oven. Did this stop me from eating a quarter of it in one sitting? No.
Overall, while making this definitely took a while and included alarms constantly going off so I don’t forget to do all the steps in time, I am definitely doing it again in the future. I bake quite often, but baking bread for the first time has given me a sense of accomplishment no other baking process has. I also have a lot of sourdough starter left, some of which I used for making pizza dough, which also turned out great. You can also experiment with mixing different types of flour to make your bread unique.


